A PH makes a split-second decision that will mean life or death for him and his client.
The game trail was a narrow corridor of hard-packed soil beneath a canopy of thorn. It was hard to imagine that three big bull elephants had recently come down this path, but professional hunter Karl Stumpfe stood over their fresh spoor pressed deep into the dirt of the game trail. He strained to see through the interwoven green branches of combretum, but the wall of vegetation was so thick that the elephant bulls less than a dozen yards ahead of the men appeared only as sandy-gray patches moving slowly through the dense cover.
Karl leaned to his left, trying to make out the left tusk of the closest bull, and finally caught sight of the long, smooth curve of the tusk as the bull stepped forward to feed. The brown-and-yellow ivory was thick and long, arcing down from the great bull’s face and reaching halfway to the ground. This was the bull the men had walked so many dusty miles to look at. Now, with the dust of late afternoon glistening in the beams of light that cut through the combretum thicket, Karl decided that this was, in fact, the bull they wanted.
Karl turned and motioned his American client, John Phillip Thoreson, forward. But it was almost impossible to make out the elephant’s shoulder in the green morass, and Karl wanted to be absolutely certain they had the right bull and that his client placed his shot well. It was June of 2009 and Namibia’s rainy season, which had been over only a few months, had brought unusually high levels of precipitation that resulted in abundant vegetation and high levels of standing water here in the Balyerwa Conservancy in the Caprivi Strip.
The Kwando River, which begins in the mountains of Angola and flows south before bisecting the Caprivi and forming a portion of the border between Namibia and Botswana, had swollen over its banks and created a series of channels and islands along its course. The three bulls Karl and his client were pursuing had made their way onto a small island of trees and grass among these channels. When the hunters found the bulls feeding on the island, they forded the narrow channel and slipped within the bull’s inner circle. Now they were now only a few steps away from the towering elephants.
Suddenly the bull that the men were watching lifted his great head high above the canopy of green, spread his dusty gray ears, and turned in a half-circle away from the men. Karl watched as the bull turned back toward them and stopped broadside to the west of them. The bull had not smelled them since the wind was blowing from the south, but something had caught his attention and he stood with head and trunk high and ears flared, just thirty feet away. Perhaps the bull had heard Derek or Justus, the game scout and field officer who followed close behind Karl and his client. Regardless of what it was that had caught the old tusker’s attention, it was clear that he wasn’t going to hang around much longer.
Karl motioned his client to move left through the cover and off the game trail to a point where the elephant’s wrinkled gray shoulder was visible through the thorns.
“Shoot,” Karl said, and raising his own .450 Rigby Rimless, he waited.
The muzzle blast of John’s rifle made the leaves shudder and Karl, at his client’s request, fired his own rifle just after his client shot. Both slugs caught the elephant squarely in the shoulder. It turned and charged through the dense vegetation, clearing a swath of thorns from its path as it ran away from the men and, after ten yards, piled up dead in the center of the peninsula.
As the elephant crashed down in the thicket, the other two bulls, which had been standing just beyond the elephant John shot, began trumpeting and came crashing back down the footpath in the direction they had come. Karl pushed his client away from the path as the two bulls came, trumpeting and flattening the towering green growth like twin locomotives roaring down parallel rails. Karl lifted his rifle into the air and began shouting and waving in the hopes that they would continue on down the trail and that Derek and Justus would have the good sense to flee from the path of the charging elephants.
The bull nearest Karl and John suddenly veered off the game trail and charged toward the PH and his client. Karl tried to turn the bull once more, waving and shouting as loud as he could before he shouldered his rifle. The elephant was coming for them now, its ears and trunk tucked as it bore down on the hunters through the combretum with obvious deadly intentions. Karl steadied his .450 and, with the elephant’s head looming larger and larger over the iron sights, he centered the rifle between and just below the line of the eyes on the elephant’s head and pressed the trigger when the bull was almost over top of him.
The 500-grain bullet struck home and the huge gray bull collapsed immediately, crashing down into the thicket, splintering saplings and flattening the web of combretum branches with a force like a demolished building. As Karl backpedaled and worked the bolt, he watched the other elephant. The third bull turned and ran down the path. Karl tried to slip through the thorn cover to watch the bull’s retreat, but he tripped on a fallen log and crashed down into the sand. Beyond his line of sight he heard the thrashing vegetation and the trumpeting of the other bull, which continued back down the game trail and away from them. But now Derek and Justus were in the bull’s path as it rushed headlong down the narrow game trail. Derek dove headlong into the swollen waters of the Kwando River, while Justus turned and ran for his life through the dense thorns, losing his shirt in the process. They both escaped uninjured.
Karl rose and turned to check on his client who, despite his pallor, was unharmed. The second elephant had died within arm’s length of where Karl was standing when he delivered the final shot. Another two steps and the bull might have crushed Karl as it fell. Had he not shot the second bull either he or his client, or possibly both of them, would have been killed by the rushing elephant.
They examined John’s bull and found that he was exactly what they had hoped for—an old bull carrying long, heavy ivory. The other bull was very large as well but did not have the ivory that John’s elephant sported. Now, however, Karl had a problem. He had two elephants down, and only one permit.
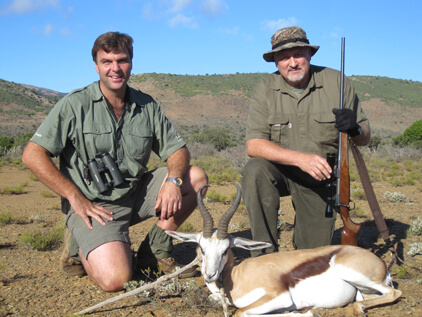
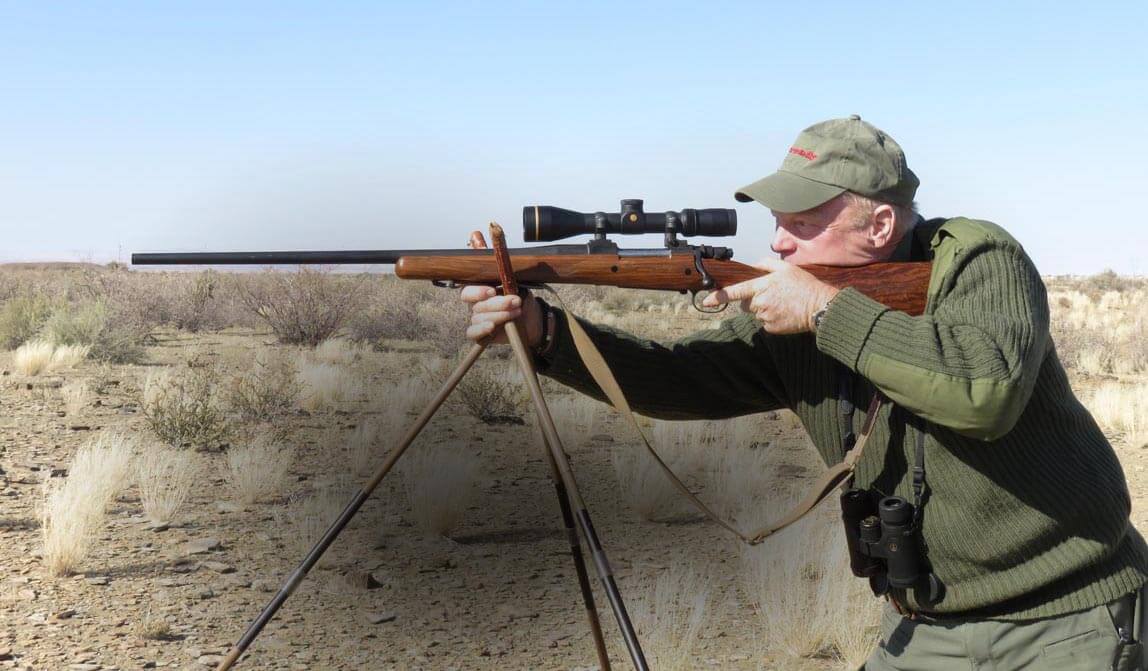
PH Karl Stumpfe with the bull he shot in self-defense.
A PH does not have the jurisdiction to shoot any animal that he considers to be a problem. Karl was responsible, first and foremost, for protecting the life of his client, which he had done. But now he would have to write a report about the incident and submit it to the government officials who would decide whether or not Karl had acted in accordance with Namibian game laws.
Karl sent in the full details of the report, along with diagrams of the events and a list of witnesses. In light of the facts and based on the testimony of witnesses, it was decided that he had, in fact, acted in accordance with Namibian game laws in his effort to protect the life of his client. The second bull was declared a problem animal based on the fact that it had attempted to seriously injure or kill a human and could only be stopped with deadly force.
Professional hunters play many roles on safari. But the ability to handle pressure and make critical decisions at a moment’s notice are of the utmost importance while dealing with large, dangerous game at close range. When the moment of truth occurs, you’d better hope that you are hunting with a PH who has the ability and the nerve to save your life the way Karl Stumpfe saved himself and his client on that fateful day in Namibia when a split-second decision and good shooting meant the difference between life and death.